I've been wanting to try making a sewing tutorial because I've been having such a blast looking at other people's. I didn't know exactly what I was going to do, but then today, inspiration hit. It was the first Bears game of the season, and it was pretty disappointing that the girls had grown out of their Bears gear from last year. However, I do have two pretty cool Bears t-shirts that I'm fairly certain I will never fit in again. And if I do, it will be years from now. So instead of heading out to Jo-Ann's (though I really really wanted to because I really really love fabric), I decided to save us the cash and use what I already have. Since I was just making it up as I went along, I didn't snap pictures of that one. But it was so easy, and it turned out pretty cute, so I grabbed another shirt. Since this is my first online teaching attempt, I'm really going for thorough. Sorry if it's long. And PLEASE let me know if anything doesn't make sense!
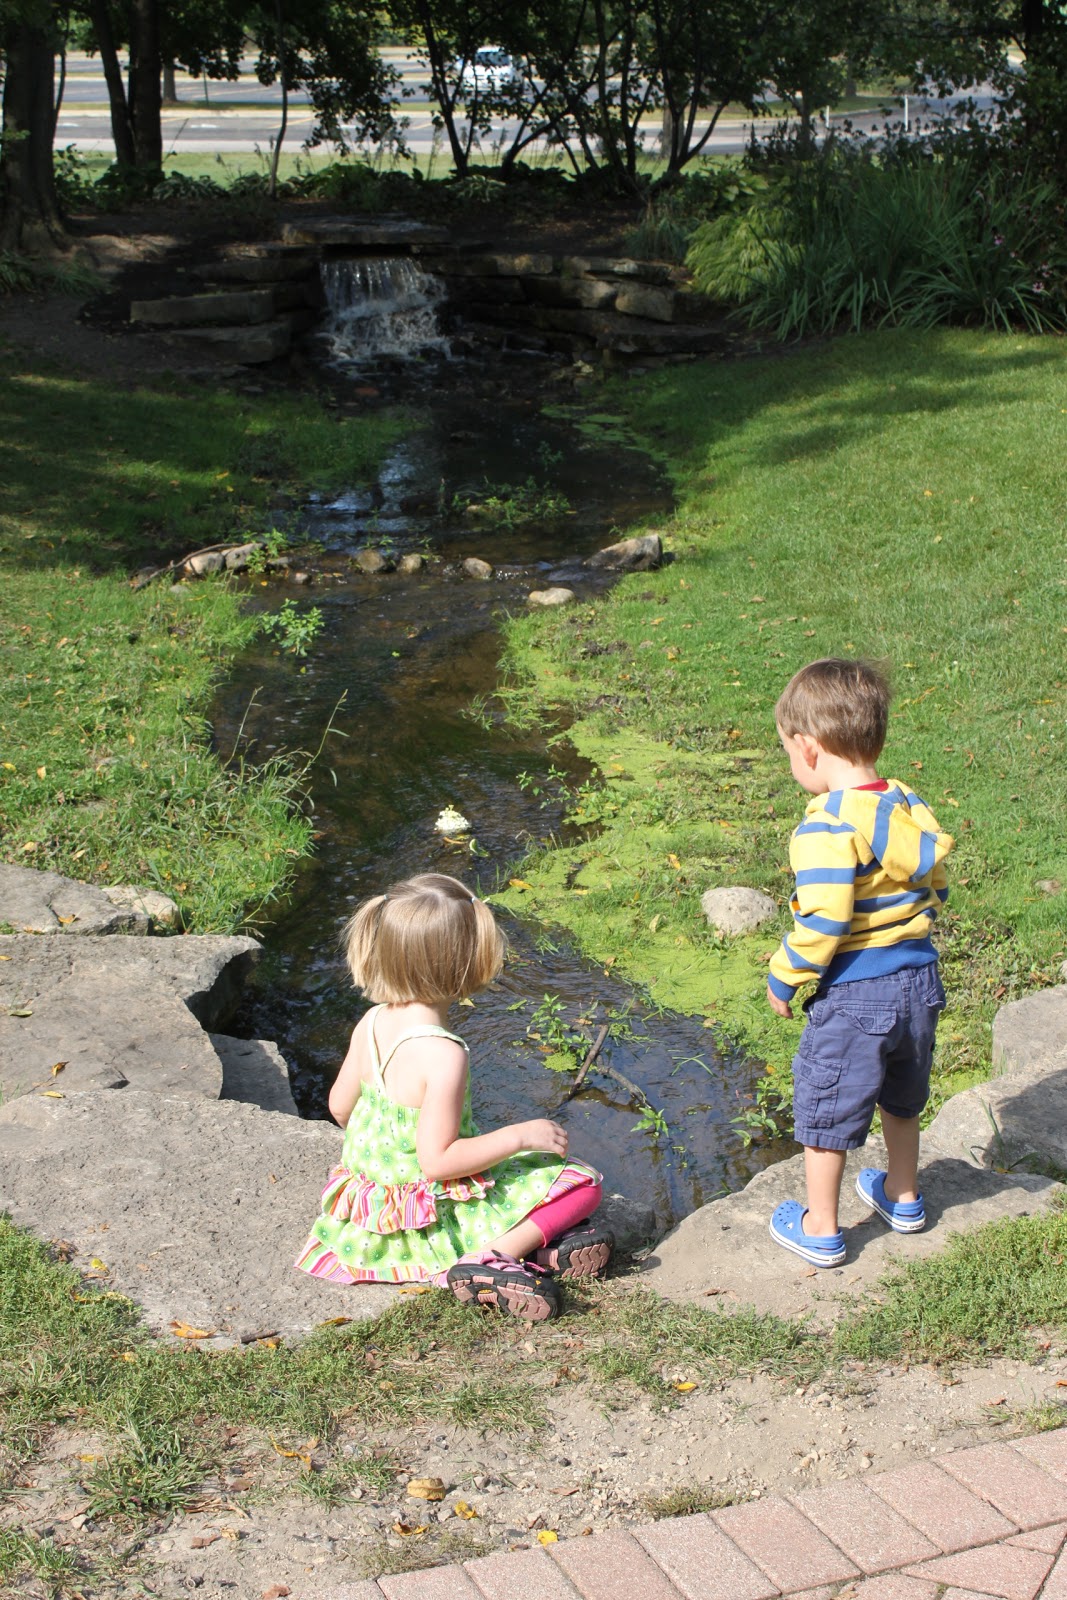
First, I'll say that I definitely need to shorten this dress. But Riley was soaked from playing in the Wheaton fountain, so it was the opportune time to change her. I'll try to get better pictures later when I get that hem done. But anyway, this is what you'll start with-- a t-shirt:
Here is (roughly-- please imagine it falling better when it's hemmed!!) what you'll end up with-- a dress with puffy sleeves and a little love thrown in:
Before I actually start, I just want to mention all the ways in which this shirt-to-dress thing is awesome:
1. If you're a saver like me, and if you tend to attach emotional value to something as silly as a t-shirt, then you don't have to toss it! You get to reuse it and repurpose it for someone you love!
2. A few of my friends have recently acquired sewing machines at garage sales or thrift stores, and the machines can only straight-stitch. Well, guess what! Since knits don't fray, you don't HAVE TO finish the edges (though you can)!
3. What better material for a kid to play in than t-shirt fabric? It's comfy; it's easily washable; it's from one of Mommy's shirts!
4. It saves you cash. Since you're "upcycling," you don't need to purchase any additional fabric.
5. If you play your cards right, this style of dress can last-- no joke-- 2 to 4 years. The neck stretches and it will just get shorter, eventually becoming a shirt!
6. It lets your little lady have a one-of-a-kind item, and maybe something that reflects what's near and dear to you. (Go, Wheaton tennis!!!)
So there you have it. Now, let's go!
Supplies:
old t-shirt
1/4- or 1/2 inch elastic (16-18 inches)
scissors
rotary cutter (optional but makes life easier!) and straight edge
sewing machine and thread
How to do it:
1. Fold the t-shirt in half. Be careful that there aren't any lumps in there. You may want to iron it first, but that's not really necessary. DO check to make sure that the neckline is matched up. I threw a few pins in the shirt once I got it how I wanted it, just for good measure.
2. Cut the neckline and sleeve openings. You can cut fairly close to the original neckline because that's going to make a sizable enough hole. For the sleeve openings, I just kind of eyeballed it. But you need to keep in mind that when you put the elastic in your neckline (the final step), it will pull everything in. Therefore, don't just cut a sleeve hole that would just fit around your little one's arm. Give it a couple extra inches. When you hit where you want your sleeve to end, cut straight down to the bottom of the shirt on a slight angle. You'll see the general shape you want to cut in the second picture. It doesn't need to be exact to this.
SAVE THE SLEEVES... you'll need them later.
When you open it up, you'll have this. I know-- it still looks disturbingly large, like it's meant for an adult. Keep the faith. It'll get better.
3. Open up the shirt so you can create a closure for your elastic around the neck. You'll need to fold it to the inside of the shirt, 3/4- 1 inch, depending on the size elastic you have.
4. Pin it all the way around to make your stitching easier. Because the logo on the back of my shirt came up so high, I snagged a few letters from Wheaton, but that's okay.
5. Stitch close to the edge, making sure you'll have enough room for your elastic. For 1/4-inch elastic, I like to leave a 1/2-inch seam allowance. Also, leave a small opening through which you'll thread your elastic (see second picture).
6. Pin the side (straight edge) of your shirt, right sides together. Your shirt will be inside-out and look like this:
7. Using a 3/8-inch seam allowance, straight stitch the straight side seams of your shirt. You CAN finish the edges, using a serger or zig-zag stitch (like I did here), but you really don't need to.
Look at that-- the body part it nearly done!
8. Now to the sleeves... I wanted a slightly girly feel, and I wanted to save myself as much stitching as possible, so I decided to keep the sleeves mostly intact. So I lined up the edges and pinned both sleeves together, so I could cut them at the same time.
9. To put a puffy capped sleeve on the dress, I cut at an angle, leaving the top of the sleeve wider than the bottom.
10. Then I rounded out that pointy corner on top.
11. Now, the adult-size sleeve is still going to be WAY too big for your sleeve opening, so you get to do a little fun gathering. This will create the puffy sleeve. The nice thing is-- you can't really mess it up. You'll only want to gather the top of the sleeve, and you'll want to make sure it's symmetrical. I used a disappearing marker to mark roughly 2 inches from the bottom of the sleeve. See it? It's pretty light and in purple. Make sure you mark this on both sides of the sleeve, for your start and end points.
12. Stitch a gathering stitch (the longest straight-stitch your machine will allow) from one mark to the next, along that top curved edge.
13. Gather by pulling the top thread. Be careful. If you're using cheapo thread, it could snap. (Don't use cheapo thread.)
When you finish gathering, it'll look like this.
14. Now, with your t-shirt body still inside-out, you'll want to pin the sleeve inside the sleeve opening. You're sleeve should be right side-out, so the right sides are together. If you find you've gathered too much and your sleeve is too small, let some out. If your sleeve is still too big, gather some more.
I actually pinned the bottom of the sleeve (lining it up with your side seam) first. Then I made sure my gathers folded on top of each other to maintain the symmetry. That way, your puff won't be all up in front or in back but perfectly even.
You'll be able to see part of the sleeve through your neck opening.
15. Stitch the sleeve to the body of the shirt/dress. I actually think this is the trickiest part because you want to make sure you're getting both layers, but since it's a smaller opening, you have to be careful not to snag the other side of the sleeve. HOWEVER, it's not that hard!! You'll be great, beginning sewers! Here's what it will look like when you're finished, with the shirt still inside-out.
And when you flip it, it's pretty exciting. Voila! Cute puffy sleeve!
16. Repeat steps 12-16 on the second sleeve. Now you're in the homestretch... and if you're like me, you're getting pretty excited and praying your children don't wake up from their naps for at least 5 more minutes (which is the max amount of time it'll take you to finish this sucker off).
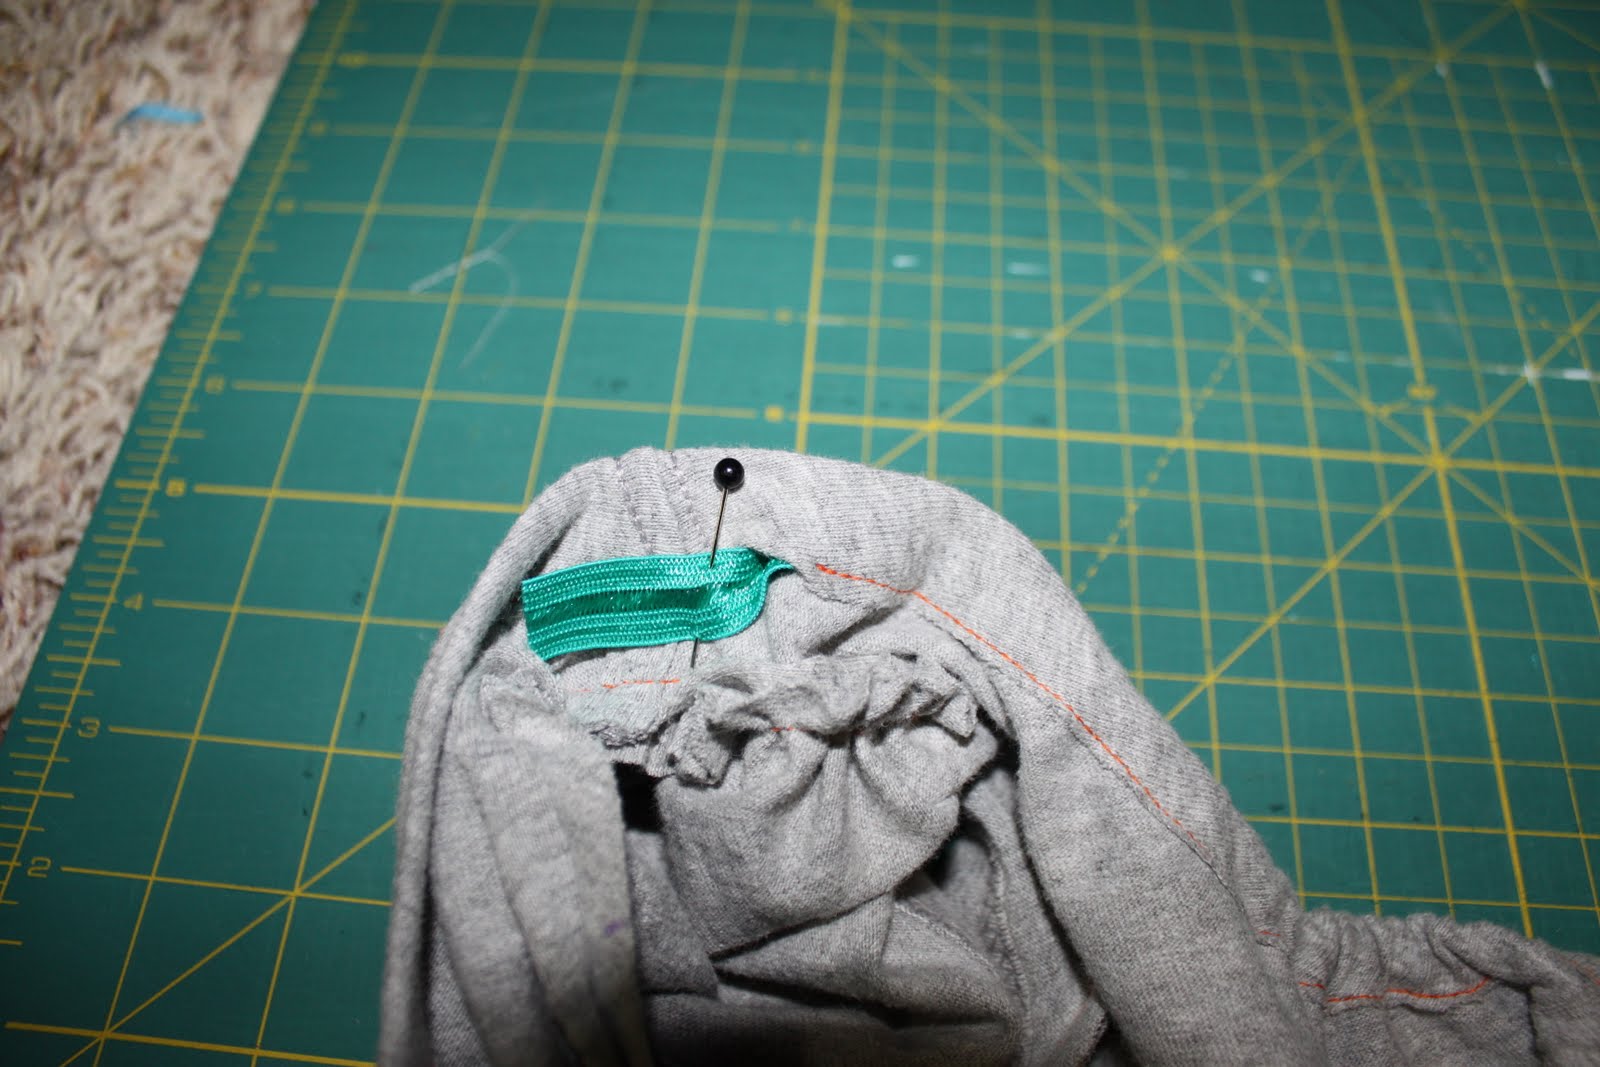
17. Cut your elastic. I eyeballed this, but I think 16-18 inches is a good bet. Loop the elastic to see if the size looks like what size you want your neckline to be. I was out of regular elastic (oops), but I did have some teal fold-over elastic on hand (gorgeous, huh?). It really doesn't matter what it looks like; it's going to be totally enclosed.
18. Attach a safety pin to the elastic and thread it through that hole you left in the neckline. Sometimes, as I'm pulling it through, I like to pin the end of the elastic outside the hole, so I don't accidentally pull too much and have to start again.
19. Once you've pulled it through, overlap the ends of the elastic and stitch. I like to use a zig-zag stitch and just go forward and backstitch a few times, but you can also just use a few lines of straight stitches, to make sure it's secure.
20. Tuck the elastic in your closure and straight stitch the opening.
Get your toddler to leave her fun and games for a moment because, gosh darn it, this is your first tutorial and you want a picture NOW, even if the dress is still too long and doesn't fall perfectly!
Make sure you take a picture of the back because even though Wheaton Crusaders sounds cooler, it's not PC, so you got/get to be the Thunder.
21. As for that hem, this is really simple. Decide how long you want to dress and cut it off about an inch longer than that. Then fold it 1 inch to the inside, press and edgestitch. Ta-da!
So... how'd I do?